

Table of contents
- Introduction
- Updating Products
- Import Product Images via CSV
- Automated Import and Export BigCommerce CSV Data using Skyvia
Introduction
BigCommerce uses CSV (Comma Separated Value) and XML (Extensible Markup Language) files for all import and export operations. However, the users lean towards CSV as most of the platforms and editors support this plain text format.
BigCommerce CSV import and export functionality covers all the common data transfer needs.
You can import:
- Products and Products Options
- Product SKUs
- Customers
- Tracking Numbers
- 301 redirects
You can export:
- Products and Products Options
- Product SKUs
- Customers
- Orders
- Analytics Reports
- 301 redirects
- Newsletter Sign-ups
In this article we cover common use cases of CSV import and export operations in BigCommerce and show how to automate these processes.

Updating Products
Updating products is the most commonly used import/export operation, since you can make adjusments in bulk. Long story short, you export your data from BigCommerce in a CSV format. Open it in a convenient editor. Add changes. Import it back to BigCommerce.
Let’s have a closer look.
Export a CSV File
To perform a BigCommerce CSV export:
- While in BigCommerce navigate to Products -> Export.
- Choose the Bulk Edit export template. That’s a built-in export template that pre-sets the column headers of you CSV files to match the headers used by BigCommerce. This option allows you to skip the manual field mapping when you import the updated data back.
- Click Continue.
- Wait until export is complete and click Download.
Note: You can always create a new Custom Export Template or edit the existing one.
Export Templates
To export data from BigCommerce you need to choose an export template first. It is a set of settings that dictates which data fields are included in the CSV file and how they are formatted. There are several built-in BigCommerce CSV templates such as Bulk Edit we just mentioned. However you can always create your custom one to match your needs.
To create a BigCommerce custom export template:
- Navigate to Settings->Export Templates, and click Create Export Template.
- Enter the name for your template.
- Choose the data type for the data you are exporting (Products, Orders, or others).
- (Optionally) Configure the Field Formatting Settings and Advanced CSV Form. BigCommerce CSV template generator has these fields configured to default values.
- At the top of the Settings page, next to Template Details click on the data type(s) you chose in the Step #3 and select the fields you want to export. Sometimes you need to exlude fields to match the destination store data structure.
- Click Save and Exit to create a template.
Edit Exported CSV File
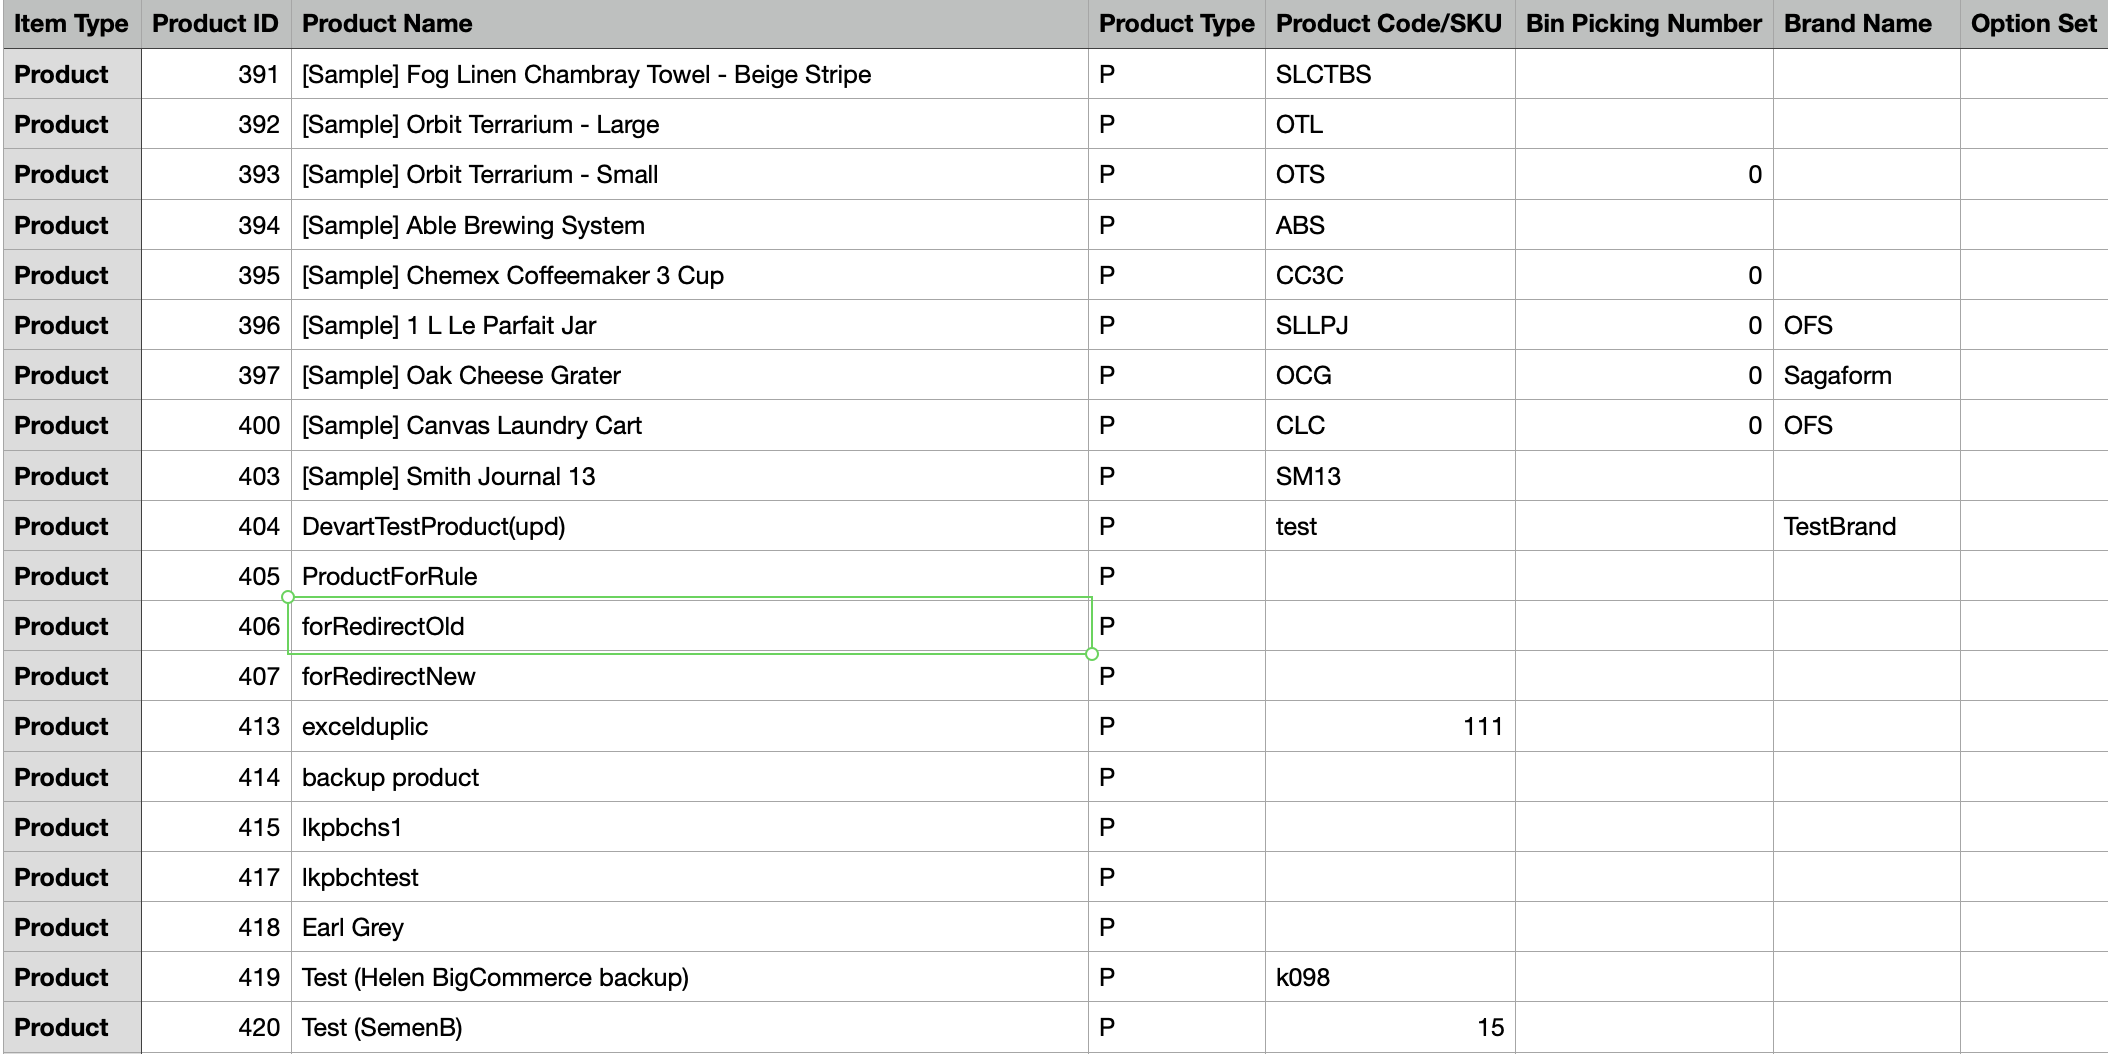
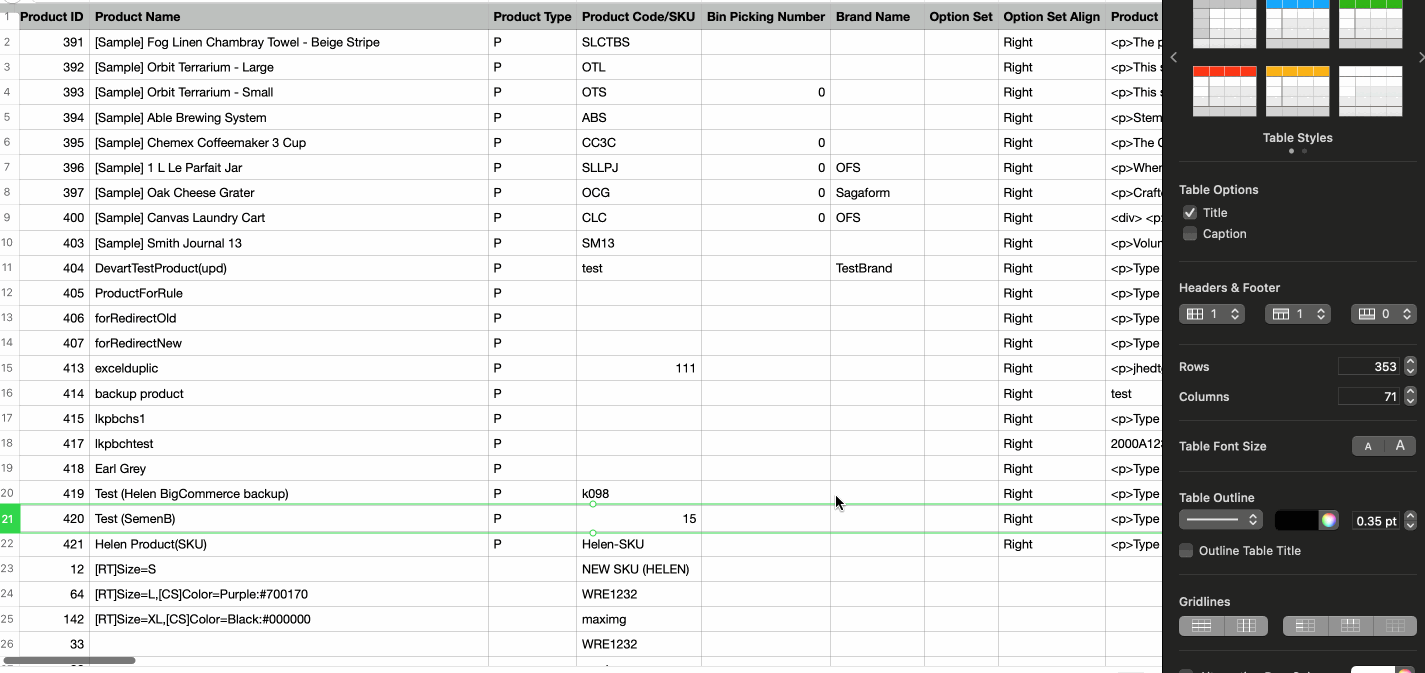
To edit an exported CSV file, open the file in any convenient editor. Most commonly used editors are Microsoft Excel and Apple Numbers. However, even Notepad supports CSV file format. Navigate to the column you want to edit, apply changes, and save your file.
Import a CSV File
To import the CSV file you exported with the Bulk-Edit template, do the following:
- Navigate to Products -> Import
- Set the location of your file.
- If you are importing the CSV file exported with the Bulk Edit template, select File Was Exported Using the ‘Bulk Edit’ Template in the Import Options These will save you time during the field mapping process.
- Set other Import Options according yo your preference.
- Click Next to continue to the Link Import Fields page
- On the Link Import Fields page you match field titles to the headings used in your CSV. If you used Bulk Edit template, these are already mapped for you. If you are using a CSV from your manufacturer or distributor you may need to map these fields manually. For example, if your Product Name column is named Brand Name instead of Product Name you will need to select Brand Name from the Match Product Name dropdown.
- Click Next and Continue to start importing your products.
- When the import is complete, you will see the import summary. Click More Information to check if there are any warnings generated during the import process.
- To check your imported products click on the View imported products in the control panel.
Import Product Images via CSV
With CSV import you are not limited to importing orders, products, customers and other plain text data. You can import your product images. Before starting the image import you need to upload your images to BigCommerce server or to any other third party cloud storage.
When you have your images uploaded, open your CSV file and navigate to the Product Image File – 1 column. Paste the link to your image to the corresponding product field and save your file. Product image will appear for the CSV import. If you want to add more images, create more columns and name those Product Image File – 2 Product Image File – 3 and so on.
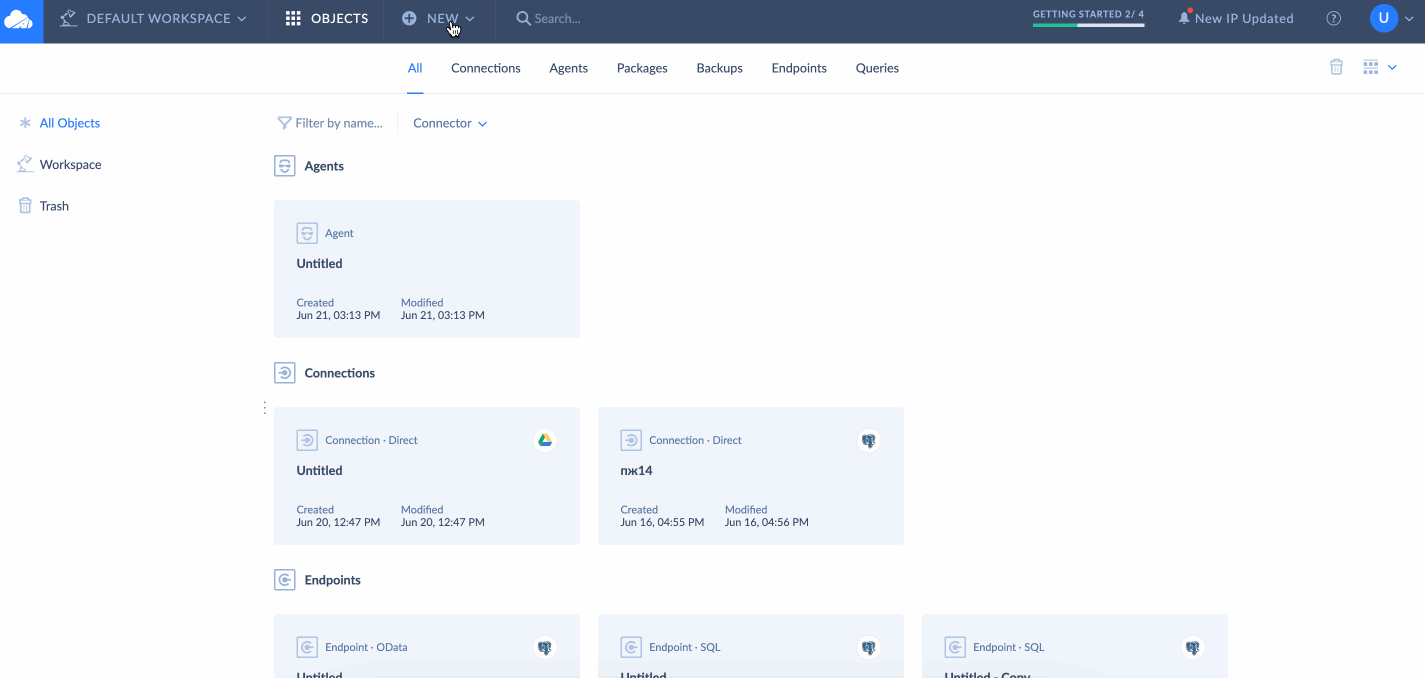
Automated Import and Export BigCommerce CSV Data using Skyvia

If you want to extend the list of possibilities provided by BigCommerce out of a box, you can use a third party solution such as Skyvia.
Skyvia allows you to import and export CSV data from BigCommerce to another e-commerce system, database, CRM, or cloud storage automatically, on schedule.
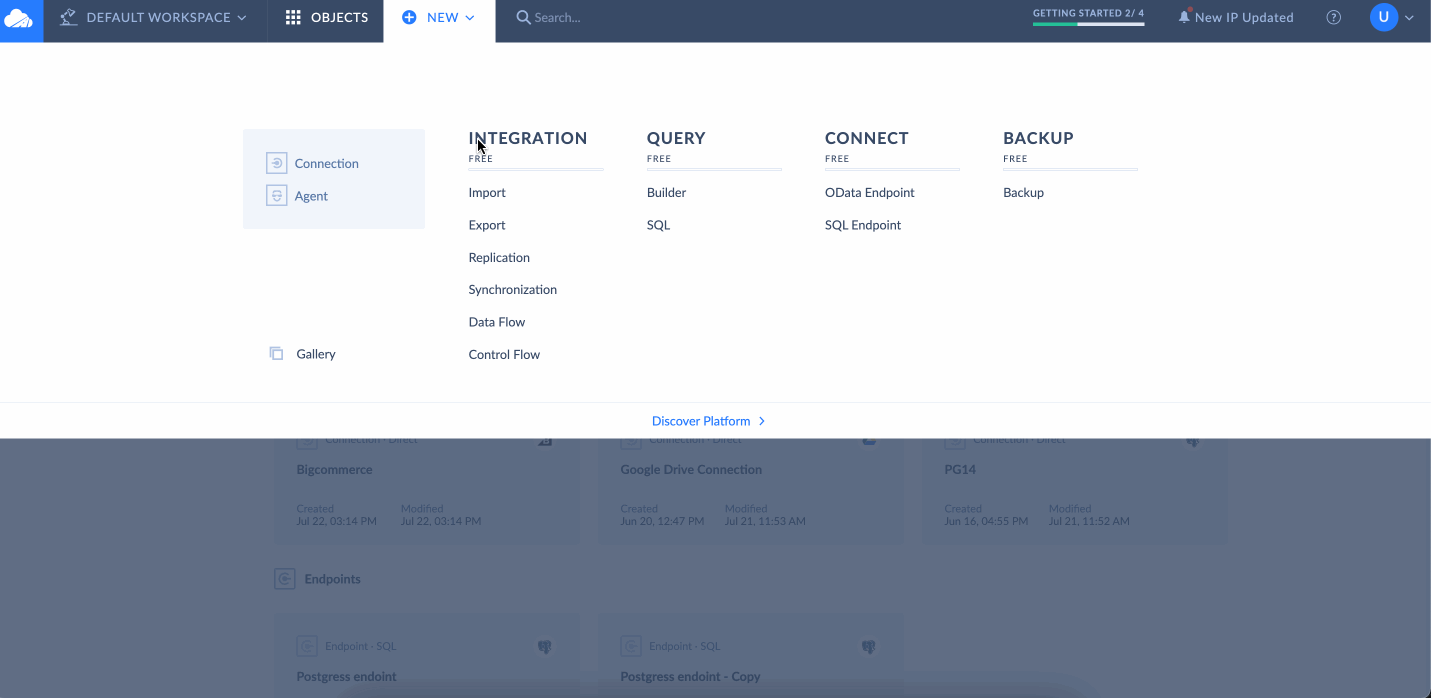
Setup a Connection Between Skyvia and BigCommerce
To start working with BigCommerce using Skyvia you need to create a connection first.
- Login to your Skyvia account.
- Click New and choose Connection
- Choose BigCommerce from the list of Connectors
- Fill out the authentication credentials.
- Click Create Connection
Import CSV Data to Bigcommerce with Skyvia
Once you created a connection between Skyvia and BigCommerce you can import CSV data exported from BigCommerce or another data source. To run import you need to create an Import package.

- Click New and choose Import.
- Set the prefered package name at the top of the page.
- Select CSV file as Source and BigCommerce connection as Target.
- Add a Task to the package. You can import several CSV files by adding more tasks to the package.
- Choose your CSV file, optionally modify the CSV file format, and proceed to the next step.
- Choose the Object(table) you want to update in BigCommerce and one of the supported actions: Insert, Upsert, Update, Delete.
- Map the required fields and save your progress.
- Click Create to create an Import package.
- Click Run to execute.
Export CSV Data from Bigcommerce with Skyvia
To export files from BigCommerce using Skyvia you need to create an Export package. The process is similar to creating its Import brother.
- Click New and choose Export.
- Set the prefered package name at the top of the page.
- Select CSV file as Target and BigCommerce connection as Source.
- Add a Task to the package. You can export several CSV files by adding more tasks to the package.
- Choose the Object(table) you want to export from BigCommerce
- Optionally, modify the column names for the exported file and click Save.
- Click Create to create an Export package.
- Click Run to execute.
Automate the Process
When you are running Import and Export packages for the first time, we recommend you to run those manually to ensure that everything set up properly. After that you may use Skyvia to automate the process and run it on schedule. To schedule the package run, do the following:
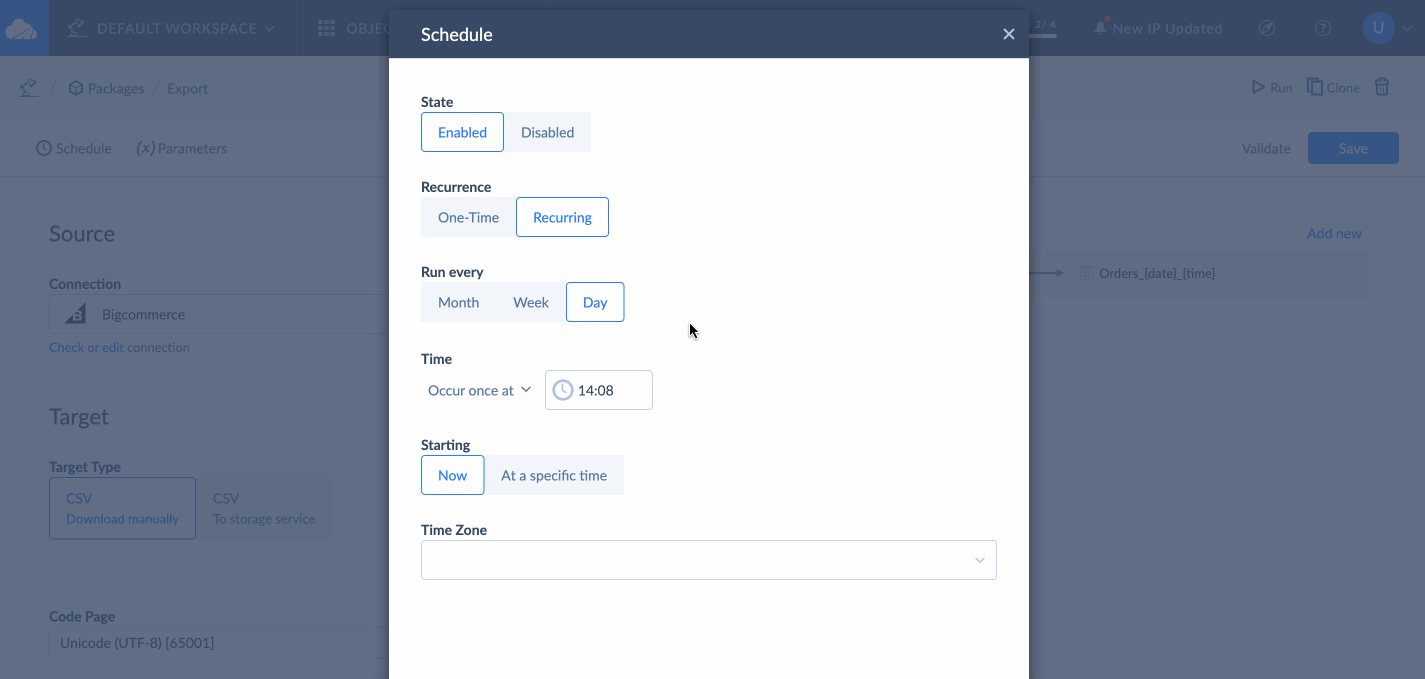
- Open your Import or Export package
- Click on Schedule
- Select the time, time zone, and frequency
- Click Save to confirm changes
